Keeping a backup of your critical data is essential to ensure you can recover your files in case of data loss. Even with the reliability of Apple hardware, it's always a good idea to have a backup plan in place. Not only does it protect your data from hardware failure, but it also helps you recover your files if you accidentally delete them.
In this guide, we will go over the steps to create a Time Machine backup on your OakHost hosted Mac. We will also cover how to restore your Mac from a Time Machine backup, or how to set up a new Mac using the existing Time Machine backup.
What is Time Machine?
Time Machine is Apple's built-in backup solution that allows you to create a backup of your Mac on an external drive or network storage. Once configured, it will periodically create backups of all files and configurations on your Mac without any user intervention. Not only does Time Machine keep a copy of your files, but it also allows you to restore a snapshot of your data to a specific point in time.
Introduced with Mac OS X 10.5 Leopard in 2007, Time Machine has become an essential tool for Mac users to keep their data safe. In most homes and offices, an external drive is connected to the Mac to create a Time Machine backup. While this works great for a single Mac in the office, it becomes a challenge when deployed in the data center at large scale. Nobody wants to open a support ticket just to have the external drive be connected to a new Mac when wanting to restore form a backup. Additionally, external drives are prone to failure and need to be replaced from time to time.
To work around these issues, OakHost offers a Network Storage solution that allows you to create a Time Machine backup for your Mac on an internal network storage. This has the benefit of being accessible to all your Macs on the network, and it's easy to restore your Mac from a backup without any external intervention. In addition, the network storage is stored in a RAID configuration, ensuring your data is safe even if a drive fails.
Setting up Time Machine on your Mac
Before creating our first Time Machine backup, we need to make sure to have a network storage share available. Depending on your storage requirements, we offer different storage sizes to fit your needs. You can easily purchase a network storage share during checkout when ordering a hosted Mac, or you can add it later using our Customer Panel under the "Network Storage" section.
As for the storage size, we recommend choosing a size that is roughly twice the size of your Mac's internal storage. This enables you to make use of the Time Machine feature that keeps multiple snapshots of your data, which is useful if you need to recover a file that was deleted a while ago. This also means that you won't have to worry about your network storage running out of space anytime soon, as Time Machine will automatically delete old snapshots when the storage reaching its limit.
Once your network storage is available, you should see the credentials to access the storage in the Customer Panel.
- To connect the network storage to your Mac, we first need to open Finder and click on "Go" in the top menu bar.
- Then select "Connect to Server" and enter the server address provided in the Customer Panel.
- You will be prompted to enter your username and password, which you can also find in the Customer Panel.
If you need help with this step, please refer to our guide on connecting to network storage.
Now that your network storage is connected to your Mac, we can proceed to set up Time Machine.
- Open System Settings by clicking on the Apple logo in the top left corner of your screen.
- Under "General", select "Time Machine" and click on "Add Backup Disk..." to add a new backup disk.

- Select the network storage share you connected earlier and click "Set Up Disk...".
- Time Machine will now start creating the first backup of your Mac. Depending on the size of your data, this might take a while. You can continue using your Mac while the backup is in progress.
Restoring your Mac from a Time Machine backup
Please ensure that the Time Machine backup is complete before proceeding with the restore process. It may also be possible that the backup is incomplete if you have recently added new files to your Mac, so we recommend checking the Time Machine status in the System Settings to ensure your backup is complete.
If you need to restore a select file or folder, you can do so by opening the Time Machine application from your Applications folder, or by clicking on the Time Machine icon in the menu bar. You can then navigate through the snapshots to find the file you want to restore and click on "Restore".
Please be aware that Time Machine sometimes takes a while to load the snapshots, especially if you have a large number of files on your Mac. Be patient and wait for Time Machine to load the snapshots before proceeding with the restore.
If you need to restore your entire Mac from a Time Machine backup, you can do so by using the "Transfer or Reset" feature in the macOS System Settings. This can be used either on the same Mac in case you want to reset it to a previous state, or on a new Mac to transfer all data from the Time Machine backup. Please make sure that you are connected via macOS Screen Sharing or via our external KVM solution to follow the steps below.
- On the Mac you want to restore to, open System Settings by clicking on the Apple logo in the top left corner of your screen.
- Under "General", select "Transfer or Reset" and choose "Open Migration Assistant...".
- Select that you want to transfer your information "From a Mac, Time Machine backup, or startup disk" and click "Continue".
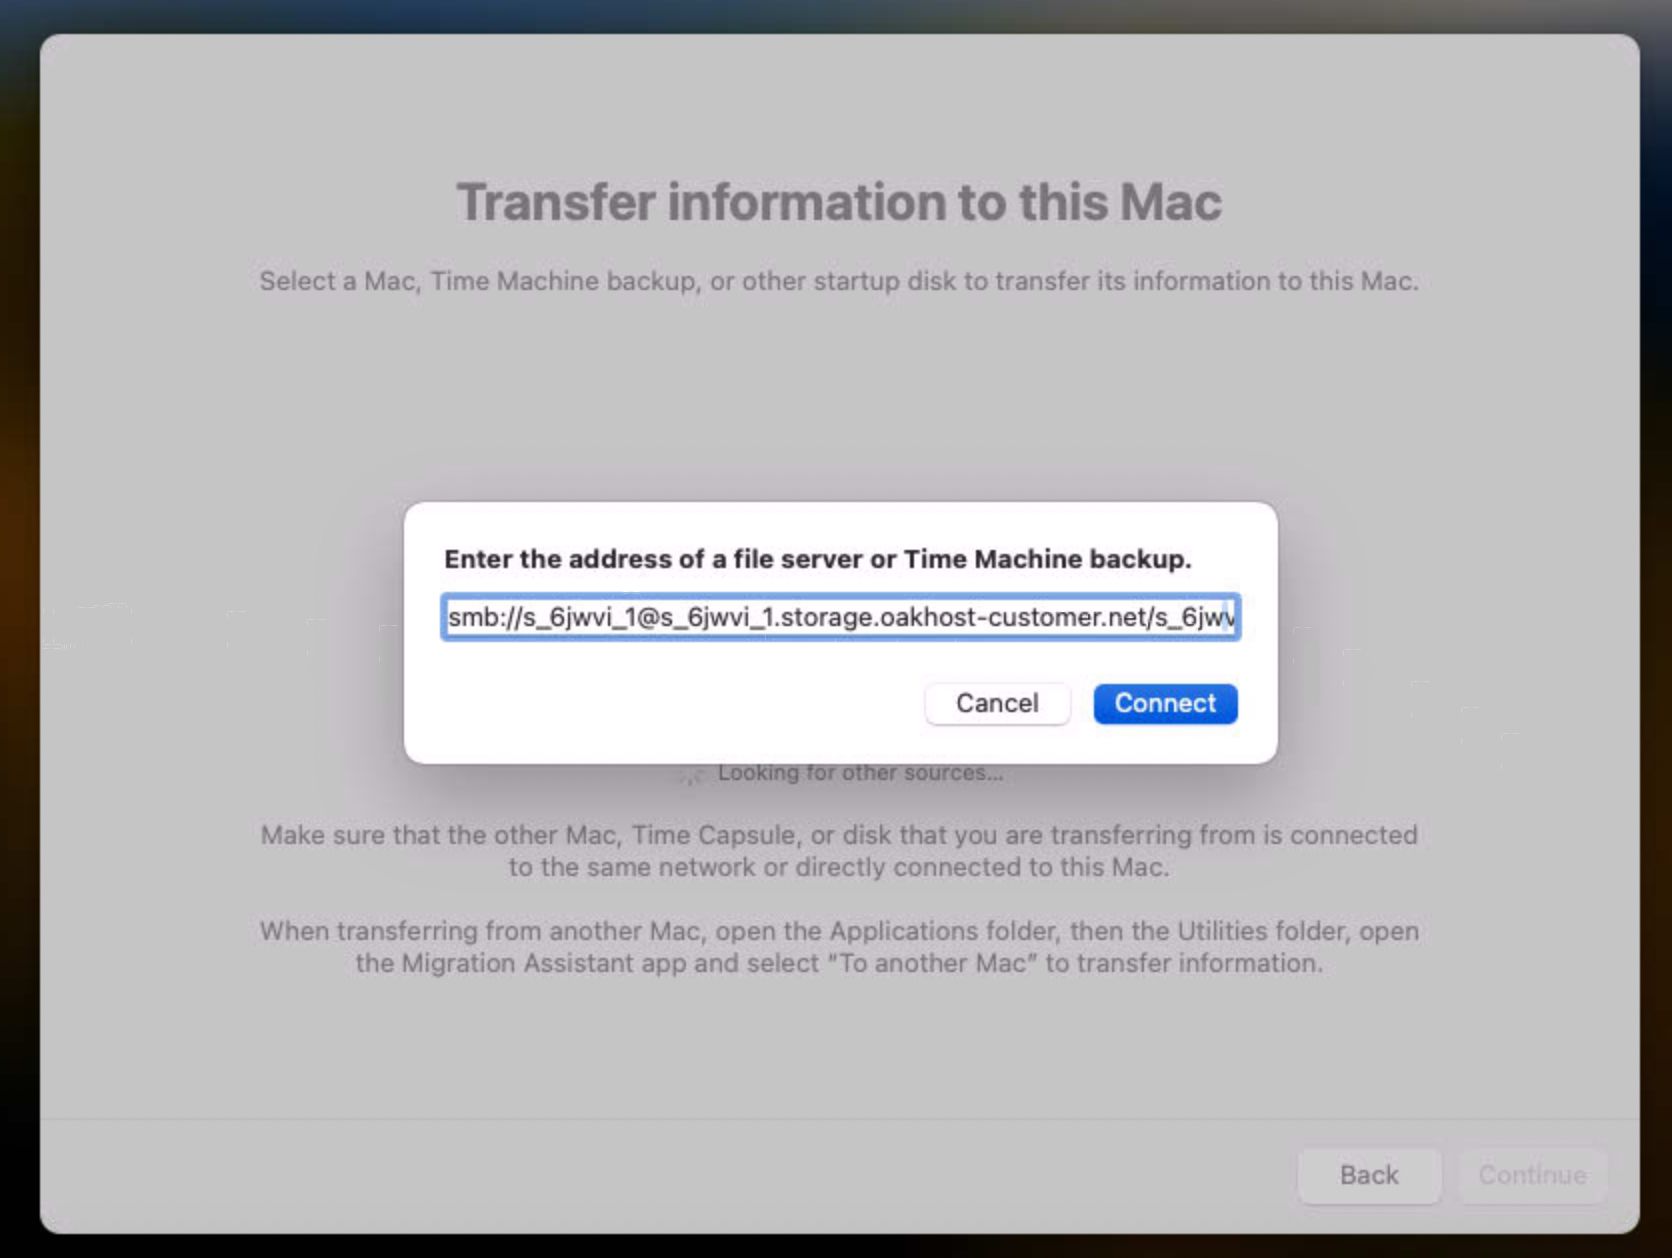
- Click on "Other Server" and enter the server address provided in the Customer Panel.

- You will be prompted to enter your username and password, which you can also find in the Customer Panel.
- Select the Time Machine backup you want to restore from and click "Continue".
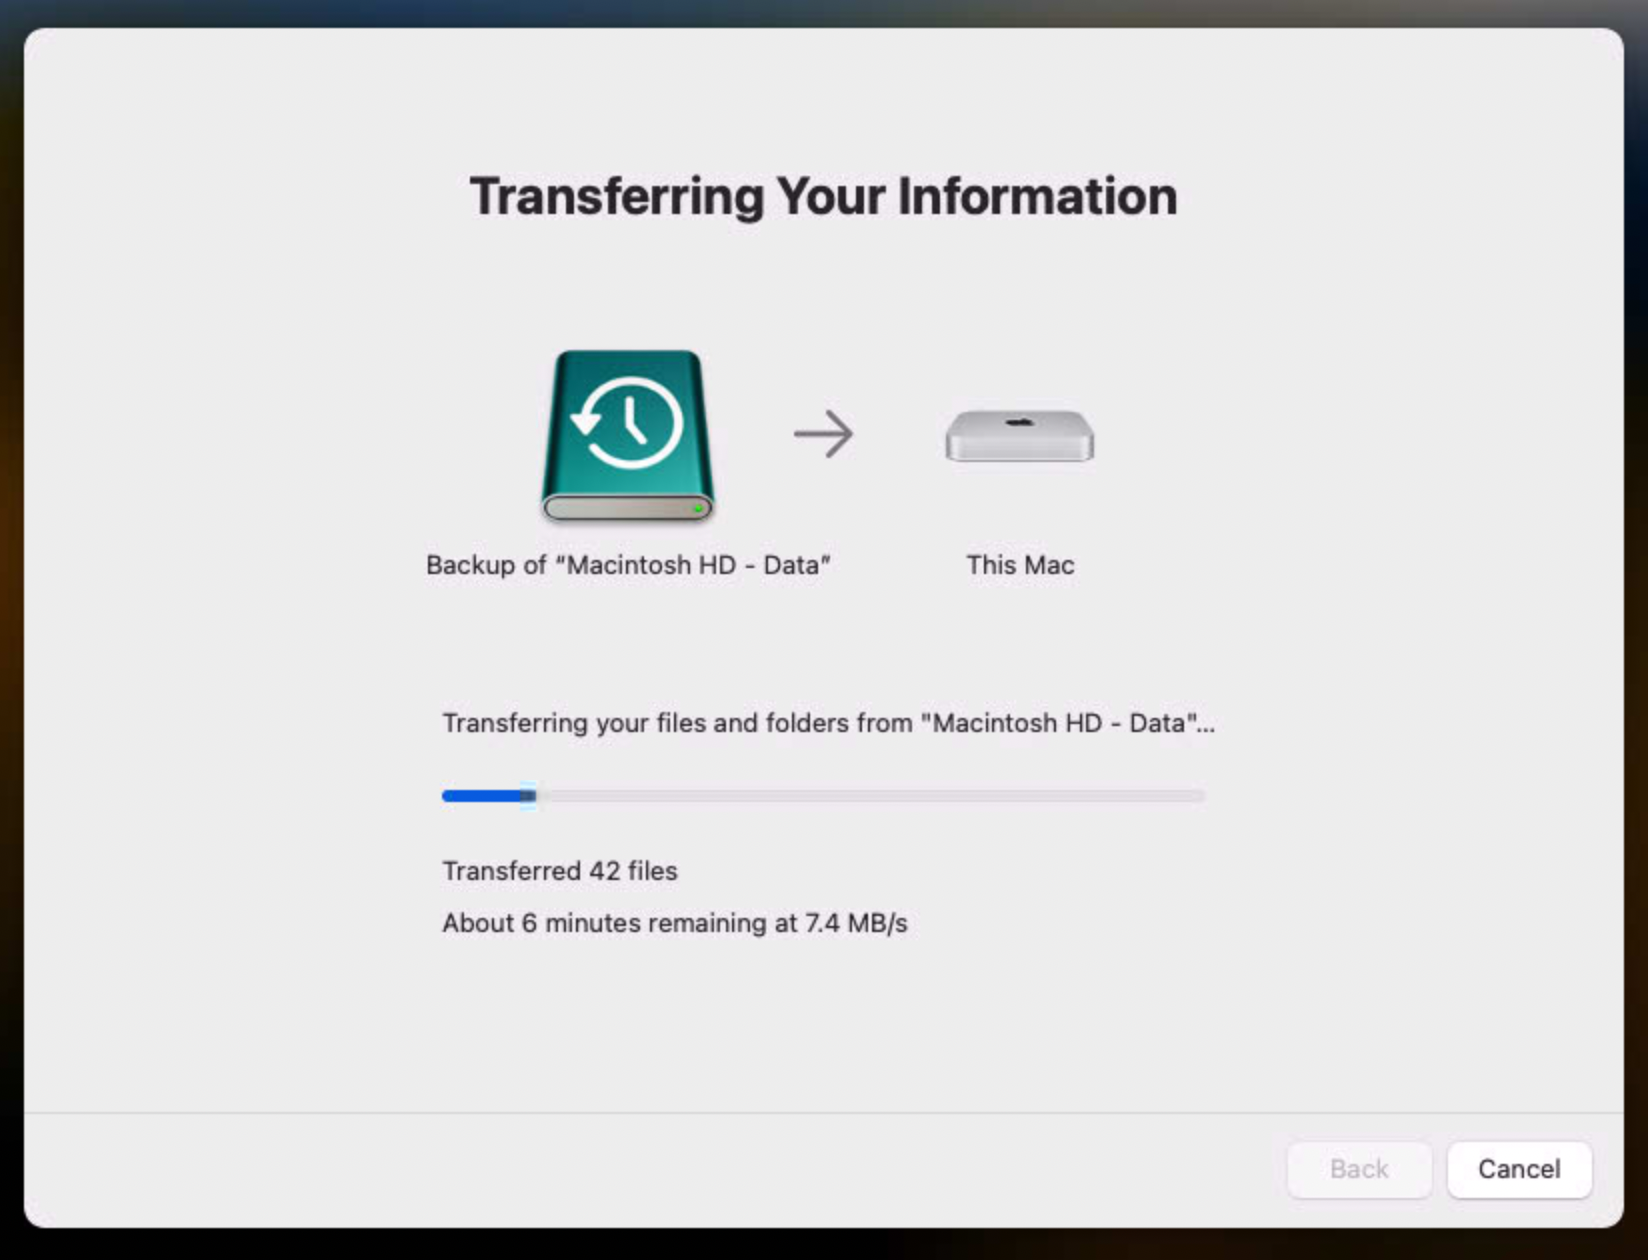
- Follow the on-screen instructions to complete the restore process. This includes selecting the data you want to restore and setting a new password for the users on the Mac.

Once the restore process begins, it will copy all files and configurations from the Time Machine backup to your Mac. Depending on the size of your data, this might take a few hours. If you are connected via Screen Sharing, you may lose connection during the restore process. Please wait until the Mac has rebooted, and you can log in again with the new password you set during the restore process, if Screen Sharing was enabled on the Time Machine backup. Otherwise, you can always connect via our external KVM solution to complete the restore process.
Congratulations! You have successfully restored your Mac from a Time Machine backup. This restore should include all files, applications, and configurations from the Time Machine backup, allowing you to continue working as before.


